Contents
Step 1: Gather the necessary materials to make your paper balls
Step 2: Prepare the paper to cover the ball
Step 3: Place the ball on its support
Step 4: Prepare the glue and start gluing the paper on the balloon
Step 5: Finish the paper balls
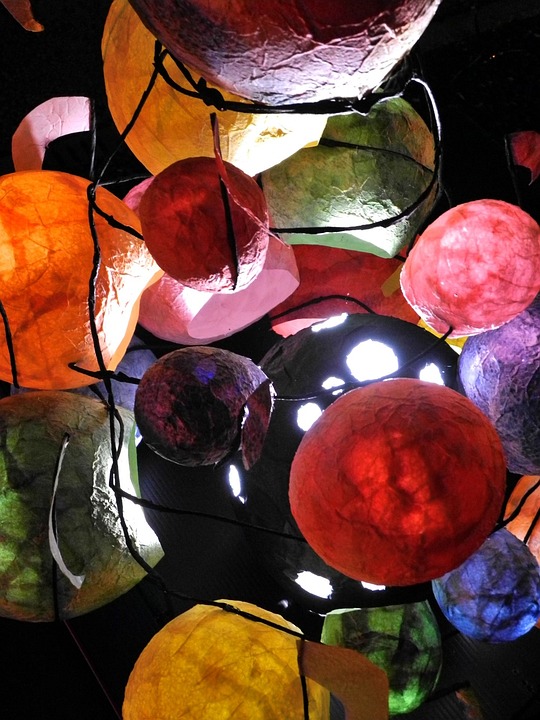
Are you in need of some holiday decorations? Or do you want to take the monotony out of a flower pot or wall? All you need are a few pieces of paper, some glue, a hook and a little time to make pretty paper balls and satisfy your desire. After all, creativity is also a way to please yourself, especially when it’s simple, quick and inexpensive.
Here’s how to make paper balls.
1. Gather the essential material to make your paper balls
You’ll need to gather paper, glue, a balloon and a stand to make paper balls.
Recovered paper such as newspapers, old phone books, or tissue paper is suitable as long as it is not glossy and thin enough to take shape and absorb the glue.
As for the glue, the best is the one used for wallpaper, diluted vinyl glue or the one you make yourself.
Important: it is essential to wear a pair of latex gloves when using industrial glues and handling newspapers for a long time.
The spherical shape is obtained with a small round balloon to prevent it from being too soft.
You can opt for a roll of packing tape laid flat for support.
Finally, use the same fasteners as for Christmas ornaments (available in hobby stores) or wire, wool, etc…
2. Prepare the paper to cover the balloon
Prepare a good amount of paper: you need at least 6 to 8 layers to get a medium-sized ball.
Take a newspaper and mark the direction of the paper’s fibre: the paper will tear smoothly.
Tear strips of about 5 cm from the newspaper.
Tip: You can also fold the paper and use a paper cutter to cut strips.
Cut the strips into 4 cm rectangles, this time with the paper cutter, in the opposite direction of the paper. It’s pretty tedious, but the result will be just right: you’ll have a nice even surface.
Set all the paper rectangles aside in a box.
3. Position the balloon on its support
In order to work with both hands, the balloon must be placed on a stand.
Start by inflating the balloon to the desired size.
Tip: You can also prepare several balloons, more or less inflated, to have balls of different sizes.
Close the balloon by tightening the knot as much as possible to make it hard enough to touch.
Then put it on a cardboard support.
Tip: If you don’t have cardboard, a glass will do.
4. Prepare the glue and start gluing the paper to the balloon
The glue should be fluid, like a liquid cream. You can prepare it yourself or buy a ready-made one and follow the manufacturer’s recommendations.
Cover your work surface with an oilcloth or a layer of newspaper (a smudge) and put on a smock to protect your clothes.
Necessary: Glue the paper while wearing gloves, as industrial glues and newspaper ink are toxic.
Dip a piece of paper directly into the glue and place it on the balloon, starting at the top.
Layer the papers down to the edge of the holder, then back up and so on.
Gently flip the balloon over and cover the bottom, except for the knot, still staggering the papers and overlapping them.
Smooth the paper with your hands and let it dry overnight.
Tip: Cover the glue and put it in a cool place so it doesn’t harden.
Then apply a second layer of paper to the balloon and let it dry well.
Do this until you have between 6 and 8 layers of paper, depending on the ball size you want.
Finish with a layer of glue on the entire surface, smoothing well with your hands, and let dry for 2 to 3 days, depending on the temperature.
Remove the ball from its holder by holding it by the knot.
5. Finish the paper balls
Once the baubles are dry, there are a number of finishing touches:
If you use a bauble fastener, cut the opening cleanly in the round with sharp scissors.
If you use a string, glue 3 layers of paper to close the hole and let it dry before inserting the string with a needle.
Tip: Do the same with the wire by passing it directly through the paper.
Apply several coats of gesso to obtain beautiful white balls, and once the surface is dry, sand gently with a 120-grit abrasive. You can then paint with acrylic paint.
You can also glue embellishments directly onto the paper, stitch stars or other subjects… Let your creativity flow!
Materials needed to make paper balls
Sewing scissors
Wallpaper paste
String
Thin wire
Disposable latex gloves
Tissue paper
Sandpaper
Newspaper
Acrylic craft paint