Contents
– Step 1: Prepare the hard-boiled eggs
– Step 2: Dye the hard-boiled eggs
– Step 3: Make the dyed eggs shine
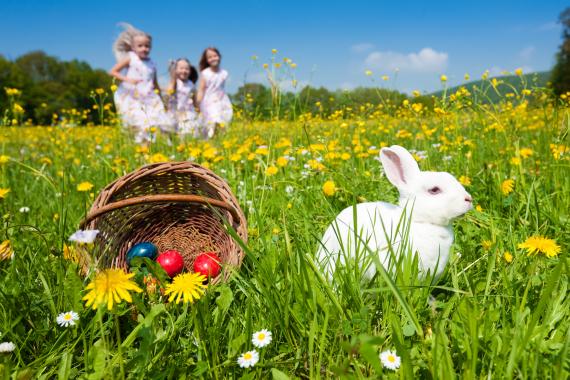
Easter egg dying in various colours is a long-standing tradition. Dyed eggs are attractive and straightforward to produce, and they can be hidden in the garden, used to decorate the Easter breakfast table, and eaten if desired.
Materials needed to dye Easter eggs
Bowl
Saucepan
Cloth
Liquid food colouring
Soupspoon
Scraper sponge
Paper towels
Edible oil
Dishwashing liquid
Newspaper
Fine salt
Tea towel
White vinegar
1. Prepare the hard-boiled eggs
Choose the eggs
Preferably choose:
– Clear-shelled eggs, which will give prettier colours to the dye.
– Free-range or organic eggs have slightly less fragile shells than regular eggs.
– However, you should expect some shell breakage during cooking. On average, 12 eggs are needed to obtain 8 to 9 hard-boiled eggs with uncracked shells.
Wash and prepare the eggs
– Take your eggs out of the refrigerator 2 hours in advance.
– Carefully wash the eggs with a scrubbing sponge soaked in warm water and a drop of dishwashing liquid.
– Rinse the eggs with clean water.
Cook the eggs
– Place the eggs in a pan of cold water with salt and vinegar (1 tablespoon of salt and 3 tablespoons of white or table vinegar for one litre of water).
– Place a tea towel between the eggs to prevent colliding and cracking during cooking.
– Bring to a boil.
– Lower the heat and cook for 10 minutes.
– Leave the eggs in the pot of hot water until you dip them in a dye bath.
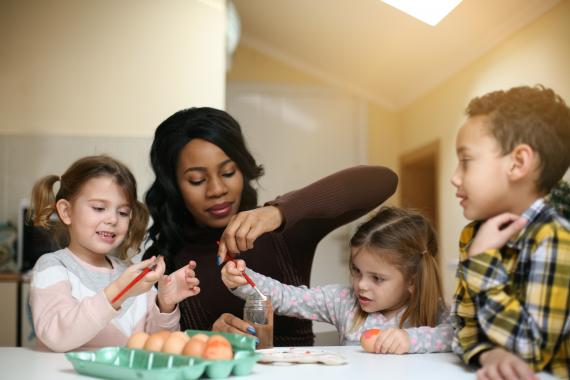
2. Dye the hard-boiled eggs
Prepare the dyeing materials
While the hard-boiled eggs are cooking:
– Spread several layers of newspaper on a table.
– Arrange 5 bowls on the table:
◦ In each bowl, pour half a vial of food colouring: yellow, red, blue in the first 3 bowls, a mixture of yellow and blue in the 4th bowl to get a green colour, a mixture of yellow and red in the 5th bowl to get an orange colour.
◦ Add one tablespoon of white or table vinegar per bowl.
Dye the eggs
– Bring water to a boil and pour it into one of the bowls.
◦ Using 2 tablespoons, carry an uncracked hard-boiled egg from the pan into one of the bowls.
◦ Still using the 2 spoons, roll the egg around in the bowl and baste it to soak in the dye evenly. Prolong the process more or less to get a pastel or darker shade.
◦ Using the 2 spoons, take the egg out, gently place it on the newspaper and roll it to dry the dye evenly.
◦ Dye all eggs of the same colour in the same way.
– Boil water again and pour it into another bowl. Repeat the same operations with another colour.
Note: the hotter the eggs and the hotter and more vinegary the water in the bowl, the better the dye will take. The result will also strongly depend on the natural base colour of the eggs.
3. Shine the dyed eggs
When all your eggs are dyed and cool:
– Rub them with a cloth soaked in table oil.
– Wipe off excess oil with paper towels.
– Repeat the process a second time, preferably on Easter morning if you prepared your dyed eggs in advance.
– Hide your coloured eggs in the garden, then arrange them in a basket in the center of the Easter table. They can be purely decorative or eaten as an appetizer with mayonnaise.