Summary
– Step 1: Practice land art outdoors
– Step 2: Choose a theme
– Step 3: Gather Materials
– Step 4: Make a land art piece with the kids
– Step 5: Immortalize your work by photographing it
Born in the late 1960s in the United States, land art is an outdoor art form, most often transient, that uses the elements of nature: pebbles, stones, leaves, sand, snow, water, etc. Like drawing or painting, it can be practiced with happiness by children of all ages, even the very young. In the garden, on the beach, during a walk, it is a matter of opening the eyes to locate the usable materials, then assembling them to create an individual or collective work in nature. Here is how to practice land art with children.
1. Practice land art outdoors
Whatever the season, as soon as you are outdoors, don’t hesitate to launch your children or your family into creating work.
– In the garden: on the lawn, at the end of a path, on the terrace or hanging from a branch…
– In the forest: especially in autumn, on a path, in a meadow, by a river…
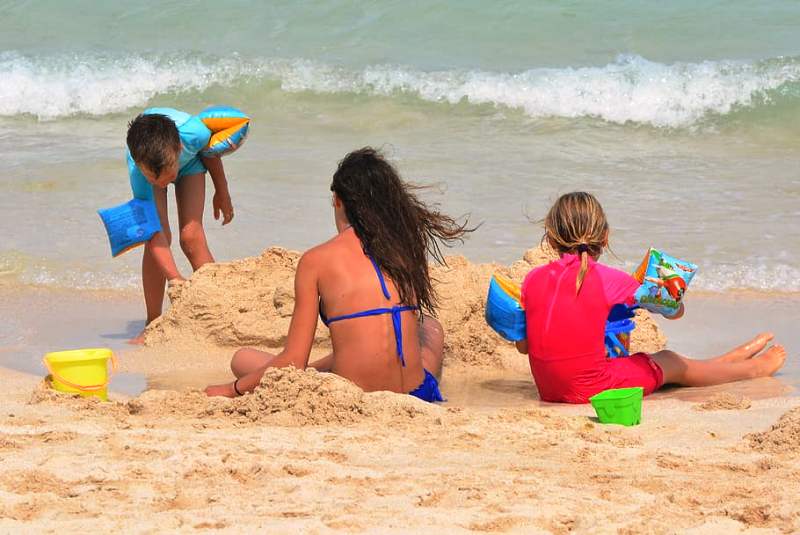
– At the beach: on the wet sand.
– In the mountains or the countryside: in winter, in the snow.
2. Choose a theme
There are generally two ways to proceed to practice land art:
– either locate a place and materials, then let yourself be inspired by them;
– or start with a theme and collect materials related to it.
If you are practicing land art for the first time with children, choose the second approach rather. Several themes are possible:
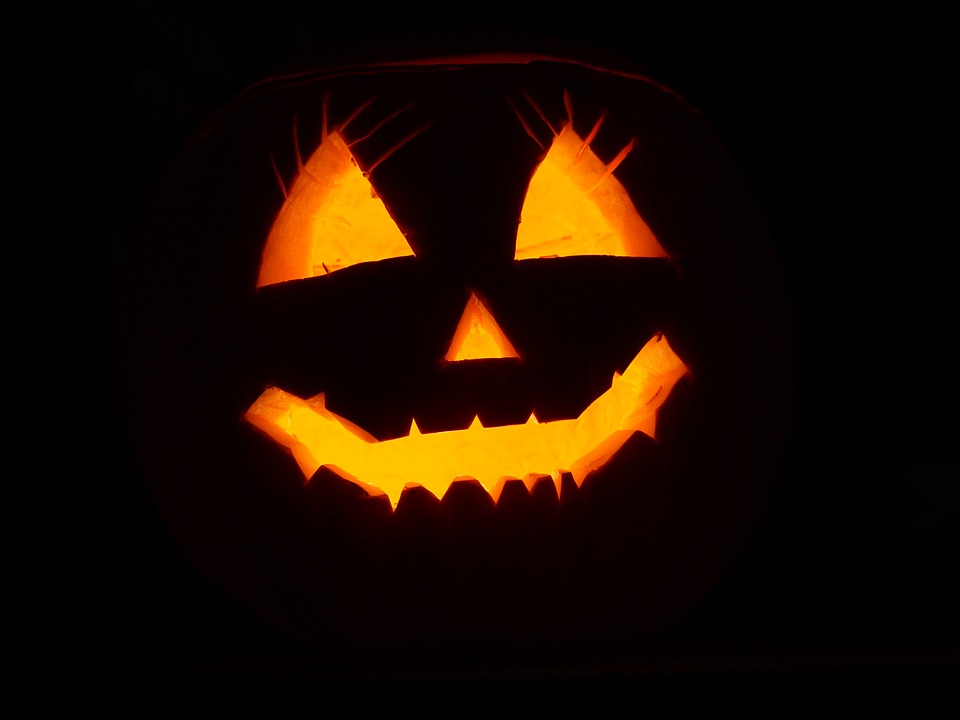
– a geometric shape (circle, spiral, triangle, square…);
Note: the circle can be used as a basis for the creation of mandalas, inspired by the circle of life, which is highly symbolic in Indian culture.
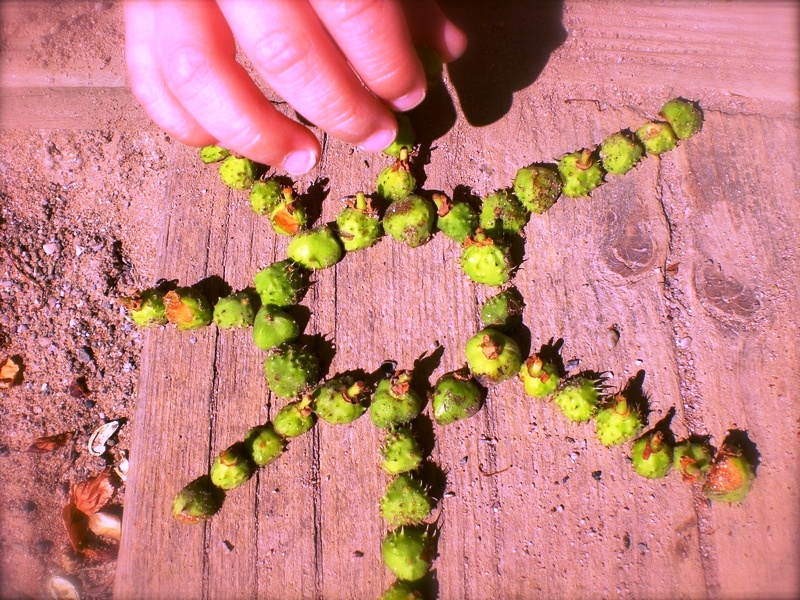
– more figurative forms (heart, flower, star, arrow…);
– the silhouette of a man or the outline of a face “drawn” on the ground with natural elements;
– a gradient of colours;
– a mobile to hang from a tree;
– numbers (for example, the current date or the child’s age);
– a 3D work (stacked pebbles, a giant nest made with branches and whose interior will be filled according to the inspiration, leaf skewers planted vertically in the ground…);
– a floating work if you are at the water’s edge, etc.
3. Gather materials
In addition to the materials you’ll find in nature, some supplies brought from home come in handy.
Materials needed to practice land art with children.
|
Paper scissors |
|
Gel glue |
|
Chalk |
|
String |
Take-home supplies
These will allow you to work or assemble your materials.
– String: to tie different elements together or to make a mobile.
– Coloured wool: for the same purpose or for purely decorative use (covering a branch, a tree trunk…).
– Scissors: to cut the string, wool, twigs or even leaves.
– Knife: to replace scissors or to remove the bark.
– Gel glue: glue elements together (pebbles, pieces of wood…).
– Chalk: to draw a silhouette on the ground to serve as a guide (for example, you can ask a child to lie down with arms and legs apart and draw its outline).
Natural materials to gather
Depending on where you are, observe nature and collect materials that inspire you.
– In the garden or the countryside: collect leaves, flowers, berries, small branches and twigs, tufts of grass, pebbles…
– In the forest: focus on leaves, branches, pine cones, bark…
– On the beach: collect pebbles, shells, seaweed, driftwood…
Note: earth, sand, snow, and water are all elements to be used.
4. Make a land art piece with the children
Agree with the children before you start looking for materials because there are two ways to proceed:
– either each child makes their work on the given theme, with the materials they have collected;
– or all the materials are pooled, and the children make a collective work that can then be larger in scale.
Tip: for a very young child, the second solution is preferable the first time; it allows them to understand the principle and contribute, even if they quickly get bored.
5. Immortalize your works by photographing them
Most of the time, land artworks are ephemeral. So, remember to take your camera to immortalize them.
Afterwards, you can display the most successful pictures or put them together in a “land art” binder to make the children proud.