
Contents
– Step 1: Make Christmas ornaments out of salt dough
– Step 2: Make Christmas ornaments out of wooden logs
– Step 3: Make felt Christmas ornaments
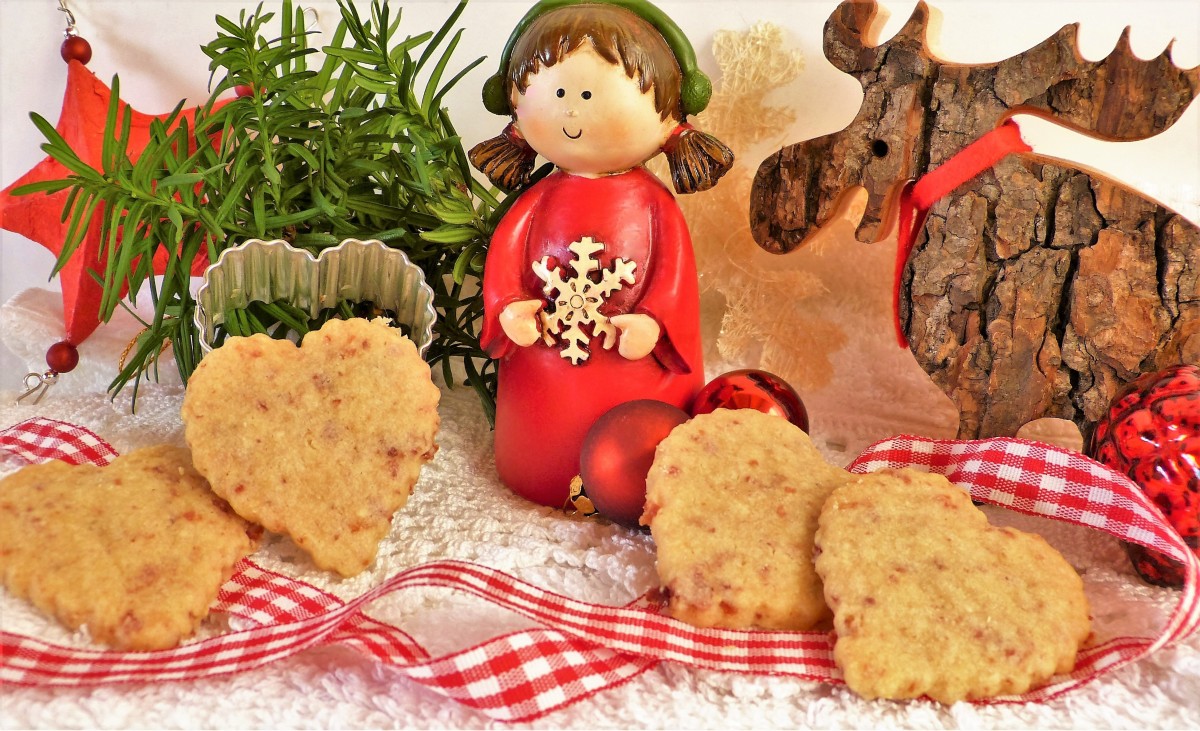
The Advent period, which precedes Christmas by four weeks, is the perfect time to make small homemade ornaments that will soon decorate the tree to children’s delight.
This post explains how to make Christmas ornaments: you can choose between salt dough ornaments, fire-engraved wooden rings or embroidered felt ornaments. The key is to pick a few primary colours and stick with them.
1. Make Christmas decorations out of salt dough
Materials needed:
– Salt dough.
– Coffee.
– Rolling pin.
– Christmas cookie cutter.
– Straw.
– String.
– White glossy 3D paint.
Make salt dough
– Follow the usual salt dough recipe, but use coffee instead of water to colour the dough in the mass, giving it a cookie-like appearance.
– Roll out the dough with a rolling pin to about 5 mm thick.
Cut out shapes
– Use Christmas cookie cutters or alternatively:
◦ On strong cardboard, draw templates: tree, heart, star, house, ball, bird…
◦ Cut out the shapes with scissors.
◦ Apply it to the dough and cut it with a sharp knife following the template.
– With a straw, poke a hole in the top of each shape so you can then thread a string through it to hang it.
– Let your shapes air dry until they are completely hardened (at least 24 hours).
Decorate your shapes
– Get a white 3D multi-surface gloss paint (in hobby stores).
– Slightly cut the pointed end of the bottle and decorate your shapes directly with it, as if you were icing cupcakes with sugar.
– Finally, thread a red and white twisted string (called “Baker twine”, available at craft stores) through the hole.
2. Make Christmas decorations out of wooden logs
Materials needed:
– 3 or 4 cm diameter wooden logs (in hobby stores);
– a wooden gimlet;
– a pyrography pen;
– 2 mm wide red ribbon.
Fabrication
– With a wood gimlet, make a hole near one edge of the washers.
– With the stylus of a pyrography machine (a child’s machine works well), draw snowflake designs on one or both sides of the puck.
– Thread a length of red ribbon through the hole.
3. Make felt Christmas ornaments

Materials needed:
– felt;
– a pencil ;
– Scissors;
– Ribbon;
– fabric glue;
– absorbent cotton ;
– a needle;
– embroidery cotton.
How to do it?
– Obtain felt in the colours of your choice.
– Draw patterns (star, heart, tree…) on strong cardboard and cut out the shapes with a pair of scissors.
– Transfer the template to a piece of felt folded in half. Trace the outline with a pencil and cut out the shape (twice) with scissors.
– If you want to embellish one side with an embroidery design (not required), do so now.
– Cut a piece of ribbon (2 mm wide).
– Lay one of the two copies of the shape flat on a table and put a few tiny dots of fabric glue around the edge.
– Fold the ribbon in half, loop it at the top, and place it on the shape, holding it with a glue dot.
In the middle of the shape, put a tiny piece of absorbent cotton to give a little relief.
– Superimpose the second copy of the shape on the first and press lightly on edge to make the glue set.
– With a cotton needle to embroider, make a stitch around the shape.
Hope these steps will help you decorate for Christmas this year! Don’t forget to share your experience in the comments below.


Pingback: 3 Ideas to Make Paper Christmas Decorations – Home And Events