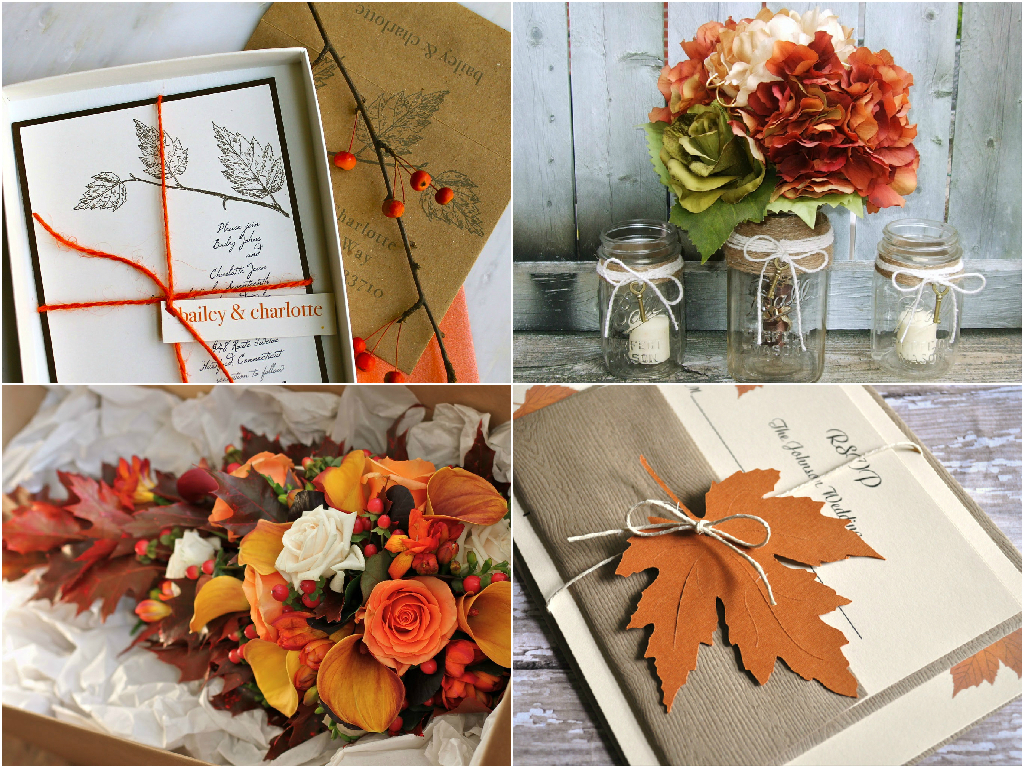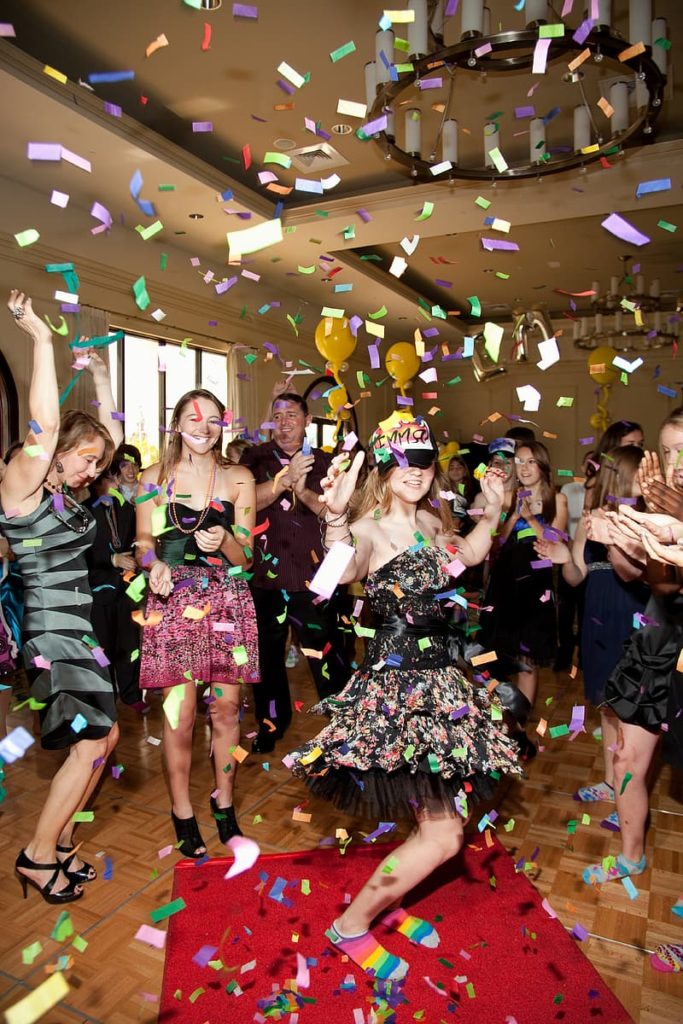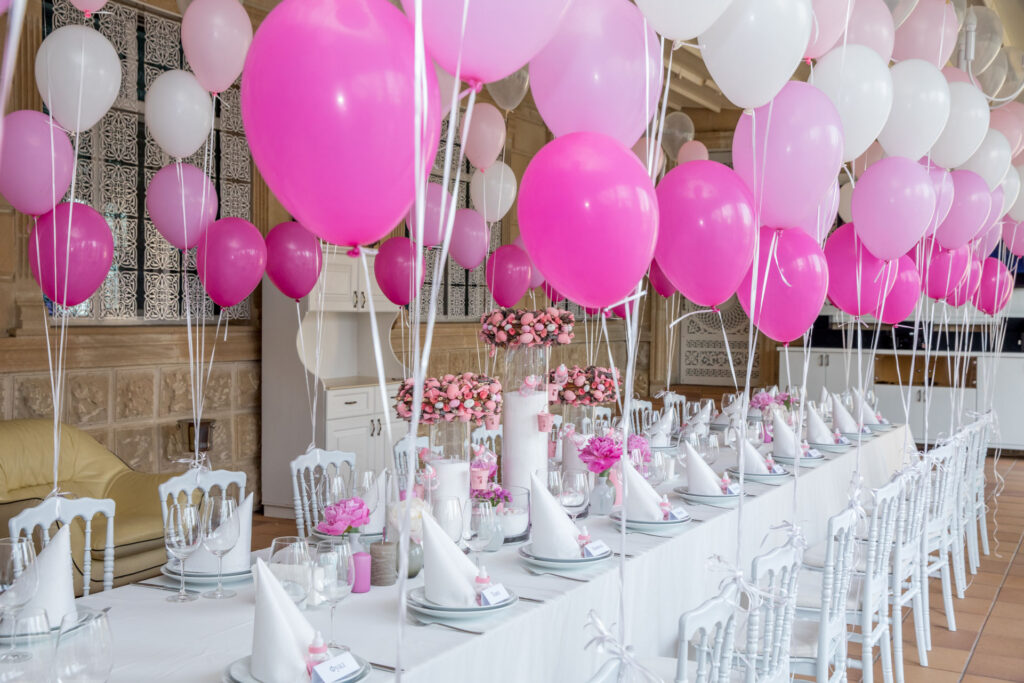
When it comes to parties, whether it’s a birthday blowout or a wedding anniversary party, no one wants to spend a leg and an arm or more, even if you’re going to amaze your guests with something more distinctive and breathtaking. However, I have the perfect solution for you: make your own decorations!
DIY Wooden Banner
 This DIY project will require the following materials:
- Paint in acrylics
- A dark pen
- X-acto knife, baker’s twine
- Painters tape in blue
- Banner parts made of wood (you can go for any brand you want)
To build the DIY Wood Banner, follow these steps:
Step 1:
The first step is to type out the letters you want on your banner on a computer or laptop (you may select the font and color you want). Print it now.
Step 2:
After you’ve printed it, cut out the letters with an x-acto knife. I propose cutting out each letter to make a little stencil square.
Step 3:
Tape and paint in different colors next. Because the stencil might be loose and you don’t want the paint to bleed, you could trace the letter with a black pen first. Fill in the letter with black paint now. Allow it to dry before stringing it on the thread. And there you have it: your “happy birthday” banner is complete!
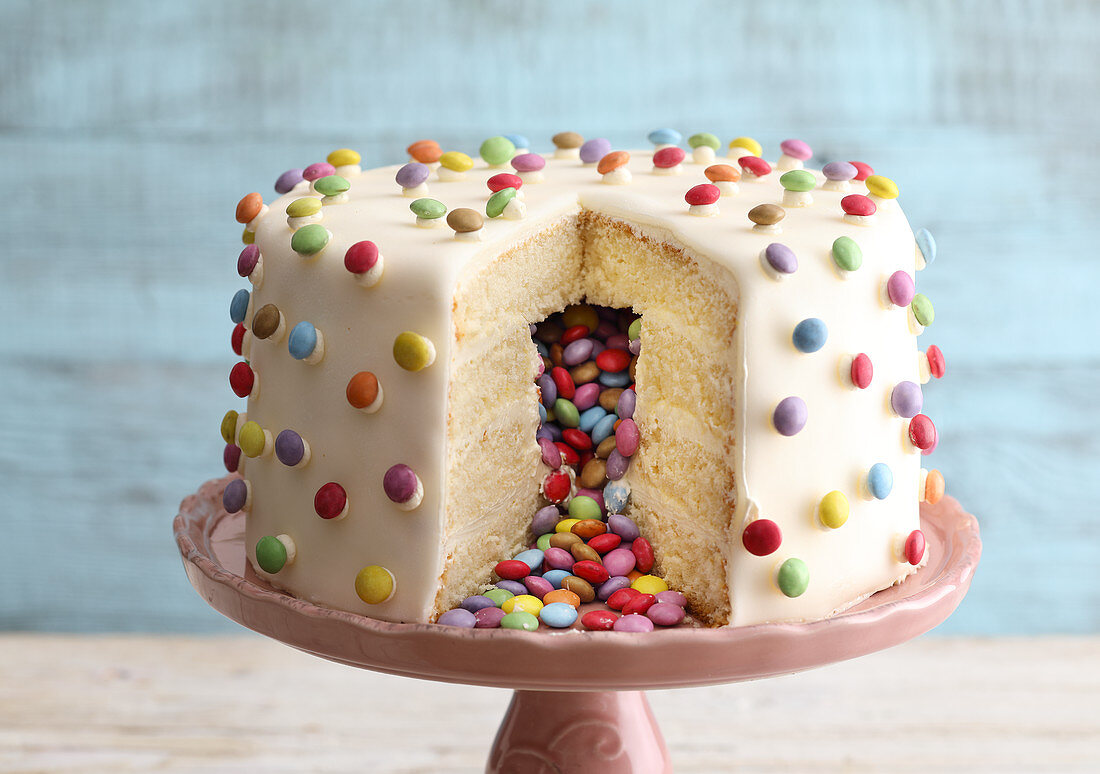
DIY Pinata for a Birthday Cake:
 This DIY project will require the following materials:
- Cardboard
- A pair of shears
- Twine\sTape
- The white-colored glue
- Awl
- Hot glue
- Straws
- The crepe paper
To make the DIY Birthday Cake Pinata, follow these steps:
Step 1:
The first step is to cut out your cardboard pieces. You’ll need triangles with one curved edge, two rectangles (the same length as the long sides of your triangles), and another rectangle the same width as your curved edge and height as your other rectangles. Did you get all of that? Make a small aperture or flap in the center of one of your triangles to make it easier to fill your pinata. Now we must glue them all together! Begin by connecting the two rectangles to the two longer sides of one triangle. Tape one triangle to the other.
Step 2:
Then tape on the final rectangle, bending it slightly as you go so that it bends around with the curved edge.
Note: If you accidentally cut the flap all the way off while cutting the hole, don’t worry; you can easily tape it back on.
Step 3:
It’s now time to build some fringe! The “cake” can be white and the “frosting” pink. Begin at the bottom of the long rectangular sides with white glue and apply strips of fringe down the edges of the cake.
Step 4:
You may make three layers of cake by alternating white and pink rows and repeating the process two more times (ending with pink at the top). After you’ve fringed the sides, cover the entire back in your icing color.
Step 5:
Then, for the bottom and top of the cake slice, repeat the process. Some tips… Because proper fringe coverage in such a little space is challenging, you may certainly add a solid piece of crepe paper to the point of your triangle. After that, be sure to add your fringe to the top. Glue several pieces onto the flap you developed for filling the piñata to keep it open.
Step 6:
Next, cut some little crepe pieces to cover your cake and frosting! To secure the sprinkles, use glue, double-stick tape, or glue dots.
Step 7:
Before sending this man on his travels, provide him with food and snacks! Alternatively, hang it up and let it be beaten up.