Contents
Step 1: Define a theme
Step 2: Choose your tree
Step 3: Install your tree
Step 4: Place the top decoration
Step 5: Choose and install the electric garlands
Step 6: Install the decorations
Step 7: Camouflage the base of the tree
Step 8: Add a touch of enchantment
Decorating a Christmas tree is quite an art. Rather than hanging all the ornaments you have, it is a matter of giving it a style, with a decoration that can be sober or abundant, childish, contemporary, baroque, rustic or fairy-like…
The colour harmony, the selection and arrangement of the electric garlands, the top decoration, the balls’ hanging, and finally, the final touches are many stages to be looked after to obtain an aesthetic result. Here are some tips and ideas.
1. Define a theme
Defining a theme will help you decorate your tree more harmoniously and give it its personality.
The possibilities of themes are endless:
- Just one dominant colour or colour variety;
- Decorations are limited to 1, 2 or 3 shapes: for example, only balls; only angels and bows; or hearts, stars and bows.
A theme combining both harmony of colours and a style of decorations:
Childish fir:
- A profusion of minor characters (elves, Santas, angels…), animated objects (animals, mushrooms, houses…), small baskets filled with sweets…
- Suggested colours: red and white, or multicoloured.
Fairy tree:
- Light decorations include feathers, fairies, stalactites, snowflakes, stars, and birds.
- Suggested colours: all white with touches of silver; or light blue, white and silver.
Contemporary fir:
Very understated, with, for example, just matte balls in 3 different sizes.
- Suggested colours: gray and white, mauve and plum, anise green and white.
Baroque fir:
- There is a profusion of sophisticated balls, cherubs, glass pendants, faux crystals, beaded garlands…
- Dominant colours: purple, gold and bronze.
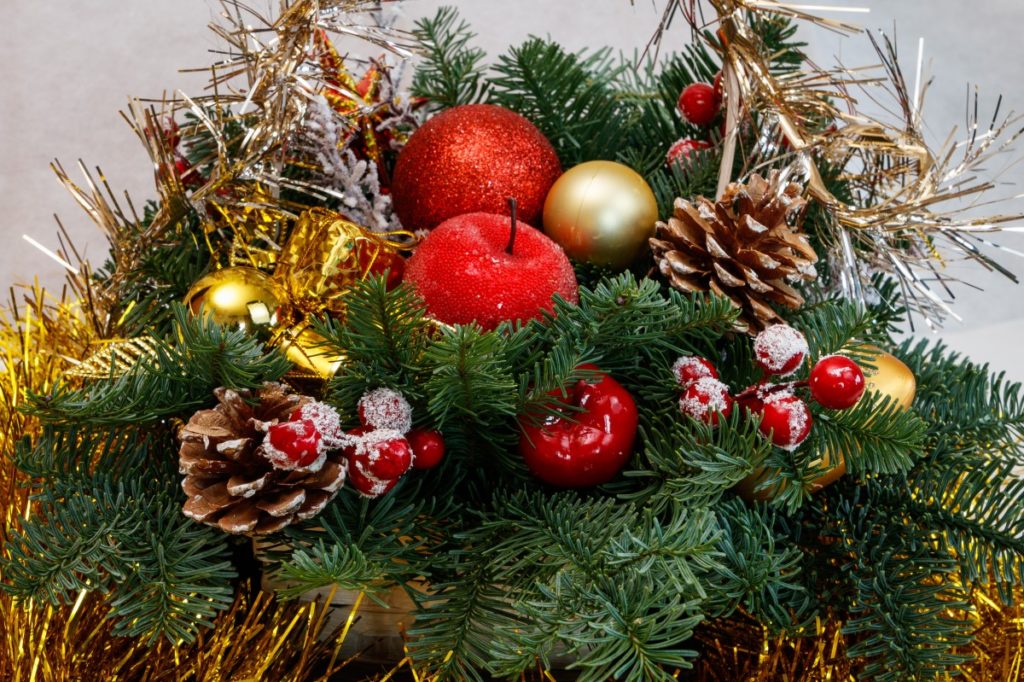
Rustic fir tree:
- Straw, wicker or wooden subjects, and natural decorations: pine cones, small bunches of red berries, bundles of cinnamon sticks, dried citrus slices…
- Suggested colours: natural shades of brown, green and beige, with hints of red and orange.
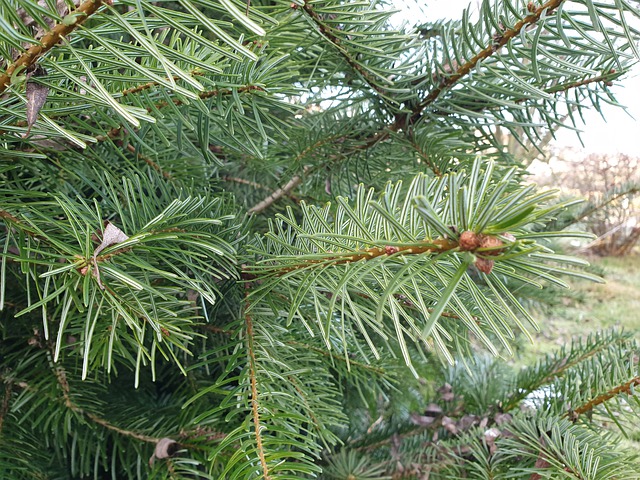
2. Choose your tree
Choose between a real and a fake tree:
- Natural fir: its charm and smell are unmatched and the inconvenience of falling needles can be limited if you choose a Nordmann fir. On the other hand, the shape is often irregular and the branches bend easily under heavy decorations.
- Artificial fir: its shape is regular and its branches support heavy decorations. Some are white or coloured, which can be an interesting base for a contemporary tree.
3. Install your tree
If your tree is not very large, place it on a piece of furniture (coffee table, garden pedestal table, or even a simple box) so that its decorations are at eye level.
If you have opted for a natural tree, install it as straight as possible: if necessary, judiciously slide a magazine under the log that serves as its base to correct the tree’s plumb line.
4. Place the top decoration
It is customary to place a decoration at the top of the tree: an arrow, a star or a bow. Place this decoration now: the top of the tree will be more accessible, and you will avoid disturbing the already-decorated branches.
Note: the arrow requires a straight tree. If this is not the case, choose a star or a simple ribbon bow.
5. Choose and install the electric garlands
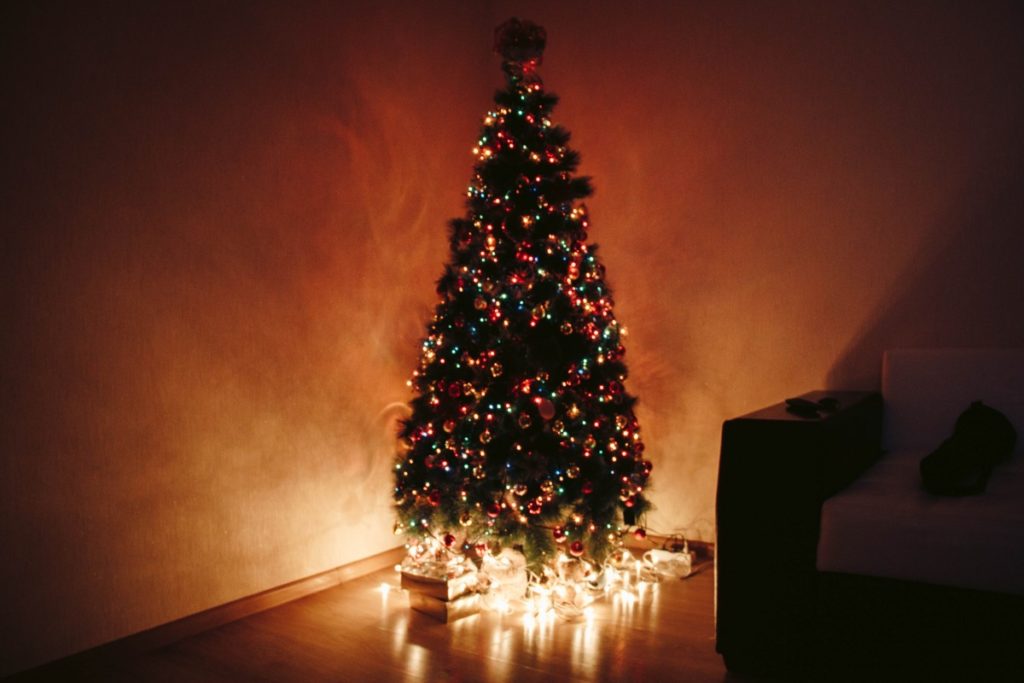
Choose white or coloured lights depending on the style of your tree: avoid multiple colours unless you have decided to have a multicoloured tree.
Check that the garlands work before installing them.
Start the end of the first garland from the top of the tree, attaching the first bulb with brass wire.
Arrange the garlands loosely from branch to branch, without going to the ends of the branches, but more towards the center of the tree: this will make the wires less visible.
Leave the garlands on while you install them; this will help you distribute the lights evenly.
6. Put up the decorations
Place the smallest and lightest ornaments on the top of the tree.
Place the more oversized ornaments and heavier ornaments towards the bottom of the tree.
Place your most beautiful ornaments prominently at eye level.
Don’t place all the ornaments at the end of the branches, but put some more inward to give your tree depth and mystery.
Avoid bending light branches with heavy hangers: if you do, hang the heavy decoration a little back from the end of the branch, which will bend less.
Hang some ornaments and decorations on a length of wire (mainly to fill in the empty spaces at the top of Nordmann trees).
Also, have decorations to pin on the tree: birds, candles or mushrooms standing on the branches.
To give the tree an opulent look, don’t neglect to decorate, at least a little, the part of the tree that is against the wall and less visible.
Step back regularly to check the harmonious arrangement of the decorations. Correct if necessary.
7. Camouflage the foot of the tree
Camouflage the tree’s base to hide the furniture on which you have placed the tree and the electric wires of the garlands.
To do this, drape a simple plain tablecloth around the tree’s base, holding it in place with pins or safety pins.
8. Add a touch of magic
If the style of your tree lends itself to it, give it a touch of enchantment by adding fairy hair (sometimes called angel hair). This is fireproof glass wool sold in cellophane at Christmas stores.
Take the fairy hair out of its wrapping and unfold it to its entire length.
Gently stretch the hair widthwise until you have a wispy mass, with as little of the original strands showing.
Detach pieces of this mass, stretch them out as much as possible and place them on the tree.
Be careful: the fairy hair should form an impalpable veil. The more you stretch, the more IT will look like this.
Fairy lights will form around each bulb when you turn on your tree lights.